Are you unsure how to print out your Din A4 pattern correctly?
Then you've come to the right place, because in this article you will find complete printing instructions for Din A4 patterns, so that you can print your patterns in the right size straight away.

Step 1: Download the Din A4 pattern and open it with Acrobat Reader. You can find a free version of this pdf reader here: https://get.adobe.com/de/reader/
Step 2: Check your printer settings. The "Actual Size" setting must be enabled for the pattern to print at the correct size. You may also need to set the orientation to "Auto" so that the pattern prints in portrait format.

Step 3: First, print out the page with the control square. It's on one of the first pages. Once you have printed out this page, measure the square and check that it is 10 x 10 cm. A size difference of +/- 0.2 cm is acceptable.

When the square is the correct size, you can print out all the other pages. If the square is too small or too big, check again whether your settings are correct. The pattern should preferably be printed out from a laptop/PC, as there are often difficulties when printing from a mobile phone.
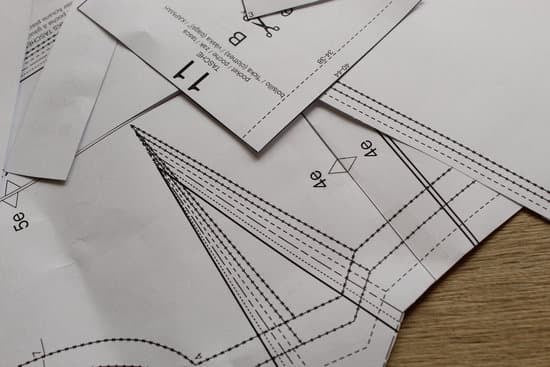
Step 4: Cut away the bottom and right edges of each sheet, then glue the same letters down the long sides (A to A, B to B, etc.) and the same numbers down the short sides (1 to 1, 2 to 2 etc.) together. I like to use scotch tape for this.

Step 5: Once you've glued all the sides together, you can then cut out the patterns accordingly. To do this, you determine your size, select the appropriate line and then cut out the pattern along this line.